
Uploading article for the first time can feel overwhelming. Whether you are publishing blogs submitting research to an academic journal, sharing a professional piece on LinkedIn, or contributing to an open access platform, the process involves more than just clicking a button.
This guide walks you through everything you need to know about how to upload an article correctly the first time. From preparing your manuscript to understanding file requirements, tracking your submission, and avoiding common rejection pitfalls, every step is covered in plain, simple language.
Whether you’re managing personal blogs or publishing professional content, these tips will help make the process easier and more successful.
1. What Does It Mean to Upload Article
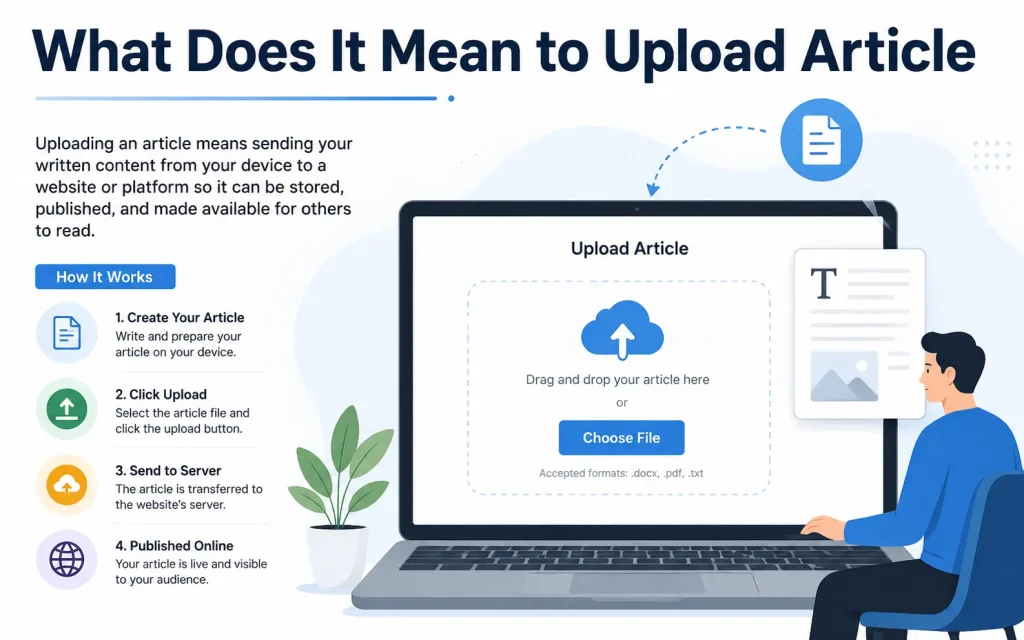
When you upload an article, you are submitting a written piece, typically a research paper, professional article, or scholarly manuscript, to a journal, platform, or repository for review and publication.
This process is different from simply sharing a document. Uploading an article means:
- Your work enters an editorial or peer-review workflow
- It is checked for formatting, originality, and quality
- It gets assigned a unique identifier such as a DOI (Digital Object Identifier)
- It becomes accessible to readers, researchers, and institutions worldwide
2. Types of Platforms Where You Can Upload Article
Before you upload, you need to choose the right platform. Different platforms serve different purposes.
| Platform Type | Best For | Examples |
| Academic Journals | Peer-reviewed research papers | IJAR, Routledge Open Research, Springer |
| Open-Access Repositories | Free public sharing of research | PubMed Central, DOAJ, arXiv |
| Professional Networks | Career and industry articles | LinkedIn Articles, ResearchGate |
| Preprint Servers | Early-stage research sharing | bioRxiv, SSRN, medRxiv |
| Institutional Repositories | University or organization archives | DSpace, EPrints, Zenodo |
| Content Platforms | Blogs, opinion pieces, editorials | Medium, Substack, Academia.edu |
Each platform has its own submission portal, file requirements, and editorial process. Always review the specific guidelines of your chosen platform before you begin.
3. Before You Upload: Preparation Checklist
Most article rejections happen before the review even begins, due to formatting errors, missing files, or incomplete information. Use this checklist to prepare correctly.
3.1 Prepare Your Manuscript
- Write your article in a Word processor (Microsoft Word is widely accepted)
- Follow the journal’s template or author guidelines exactly
- Include all required sections: Title, Abstract, Keywords, Introduction, Body, Conclusion, and References
- Ensure your reference list follows the required citation style (APA, MLA, Chicago, Vancouver, etc.)
- Number all pages and lines if the journal requires it
3.2 Format Your File Correctly
Different platforms accept different file formats. Here is a quick overview:
| File Format | Accepted By | Notes |
| .docx (Word) | Most academic journals | Most commonly required format |
| .doc (Word) | Older journal systems | Convert to .docx if possible |
| Some platforms for final submission | Often not accepted for initial review | |
| .tex (LaTeX) | Science, math, and engineering journals | Requires special handling |
| .rtf | Some open-access platforms | Less common but widely supported |
Most academic journals, including IJAR, accept only for initial submission. Always verify the accepted format before you upload.
3.3 Check Plagiarism Before Submission
Journals use plagiarism detection tools such as iThenticate, Turnitin, or Grammar. A high similarity score can lead to automatic rejection.
- Aim for a similarity score below 15% to 20% (policies vary by journal)
- Paraphrase properly and cite all sources
- Use quotation marks when directly quoting an author
- Run a self-check using free tools like Duplichecker or PlagScan before submission
3.4 Prepare Supporting Documents
Many journals require additional files alongside your manuscript:
- Cover Letter: A brief letter introducing your article, its significance, and why it fits the journal
- Author Information Form: Names, affiliations, email addresses, and ORCID IDs
- Copyright Transfer Agreement or License Form
- Ethics Statement: Especially for clinical research or studies involving human or animal subjects
- Declaration of Competing Interests
- Supplementary Data Files: Raw data, charts, appendices
4. Step-by-Step: How to Upload Article to an Academic Journal
Follow these steps to complete your submission without errors.
Step 1: Visit the Journal’s Submission Portal
Go to the official website of the journal. Look for a link labeled Submit Article, Upload Article, or Author Submission. Never submit through third-party websites or email unless the journal explicitly instructs you to.
Step 2: Create an Author Account
Most journals require you to register as an author. You will need to provide:
- Full name and academic title
- Institutional affiliation (your university, organization, or employer)
- Official email address
- ORCID iD (if available)
- Country and contact number
Step 3: Start a New Submission
Log in to your author account and click New Submission or Submit Manuscript. You will typically go through a multi-step form.
Step 4: Enter Article Details
Fill in all required metadata fields:
- Manuscript Title: Use your full article title as it will appear in publication
- Authors List: Add all co-authors with their names, affiliations, and emails separated by commas
- Subject Area: Select the most relevant category
- Abstract: Paste your abstract (usually 150 to 300 words)
- Keywords: Enter 4 to 8 relevant keywords
Step 5: Upload Your Manuscript File
- Click the Upload or Browse button
- Select your manuscript file from your device
- Wait for the upload to complete and confirm it is not corrupted
- Upload any additional files (cover letter, figures, tables, data sets) if required
Step 6: Review and Submit
- Preview your submission to check for errors
- Confirm the file opened correctly in the system preview
- Read and accept the submission terms and declaration
- Enter the CAPTCHA code if prompted
- Click Submit
Step 7: Note Your Submission Reference Number
After submitting, you will receive a confirmation email with a reference or tracking number. Keep this number safe. You will use it to check the status of your article during peer review.
5. How to Upload Article on LinkedIn
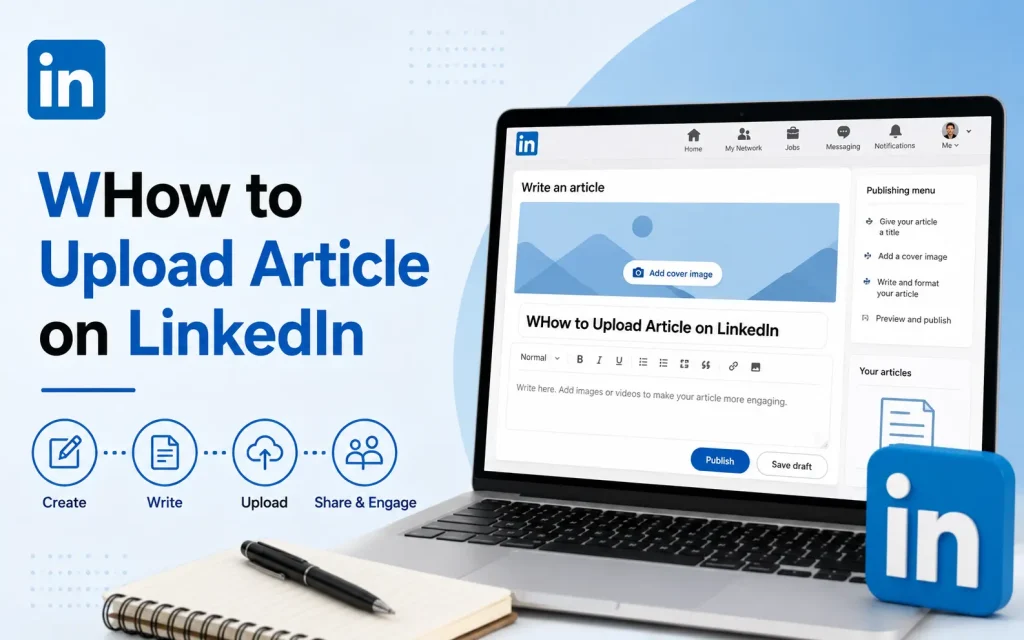
LinkedIn is one of the most powerful platforms for professionals to publish thought leadership articles and reach a wide audience without going through peer review.
- Log in to your LinkedIn account
- Click the Write an article button on your homepage
- Add a headline: Make it clear, specific, and keyword-rich
- Write your article directly in the LinkedIn editor or paste your content
- Add a cover image to improve click-through rate
- Add relevant hashtags at the end of your article
- Click Publish to make it live on your profile and feed
LinkedIn articles are indexed by search engines, so optimizing your headline and first paragraph with relevant keywords can help your content appear in Google search results.
6. How to Upload Article on Open-Access Platforms
Open-access publishing makes your research freely available to anyone, anywhere. Platforms like Routledge Open Research follow a specific article-processing model.
General Process for Open-Access Submission:
- Select a platform that covers your subject area
- Register and create an author profile
- Submit your article with the required metadata and files
- Your article may be published immediately and then undergo post-publication peer review
- Pay the Article Processing Charge (APC) if applicable
- Receive your DOI and share your published work
Open-access articles typically get more citations because they are visible to everyone, not just subscribers. This makes open-access publishing a strategic choice for researchers looking to maximize their impact.
7. Understanding the Review Process After You Upload
Once you upload your article, it does not get published immediately. It goes through a process.
| Stage | What Happens | Typical Duration |
| Initial Check | Editor checks formatting, scope, and plagiarism | 1 to 7 days |
| Peer Review | 2 to 3 experts evaluate your research | 2 to 8 weeks |
| Decision | Accept, Revise and Resubmit, or Reject | 1 to 3 days after review |
| Revision | Author addresses reviewer comments and resubmits | Author-dependent |
| Final Acceptance | Editor approves final version | 1 to 7 days |
| Publication | Article goes live with DOI | 1 to 14 days |
8. How to Track Your Uploaded Article
After submission, you can track the progress of your article through the journal’s author portal.
- Log in to the journal website using your author account credentials
- Go to My Submissions or Track Your Article
- Enter your submission reference number if required
- Check the current status (Under Review, With Editor, Decision Pending, etc.)
- You will also receive email notifications at each stage of the review process
If you do not receive a confirmation email within 24 hours of uploading, check your spam folder or contact the editorial office directly.
9. Common Mistakes to Avoid When You Upload Article
| Mistake | Why It Causes Problems | How to Fix It |
| Wrong file format | System rejects the upload automatically | Convert to .docx before uploading |
| Missing cover letter | Submission is incomplete | Always write a short cover letter |
| Author name missing or inconsistent | Creates confusion in the record | Use the same name in all fields |
| High plagiarism score | Leads to immediate rejection | Paraphrase and cite all sources |
| Ignoring the journal template | Formatting errors cause desk rejection | Download and use the official template |
| Submitting to wrong subject area | Sent to wrong reviewer pool | Read the journal’s scope carefully |
| No abstract or keywords | System may not allow submission | Always include both |
| Uploading a corrupted file | Editor cannot open your work | Test the file before uploading |
10. Tips to Speed Up Publication After Uploading
- Submit to a journal whose scope closely matches your topic
- Follow the author guidelines precisely to avoid desk rejection
- Write a compelling cover letter that highlights the significance of your work
- Respond to reviewer comments promptly and thoroughly
- Include a point-by-point response letter when resubmitting a revised manuscript
- Proofread your final version to eliminate grammatical and typographical errors
- Ensure all co-authors have approved the submission before you upload
11. What Is a DOI and Why Does It Matter
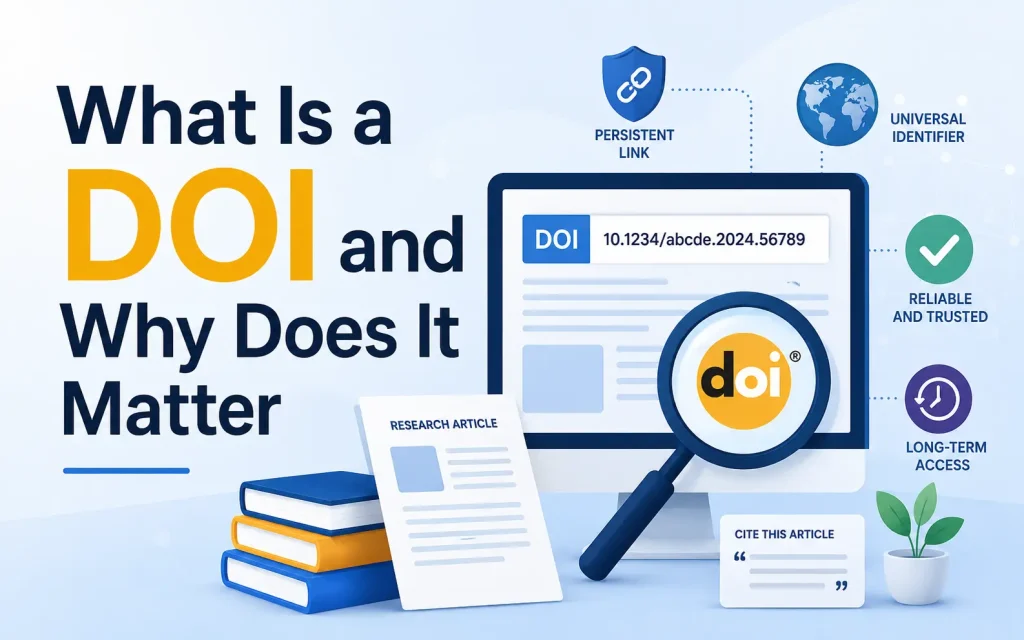
A DOI (Digital Object Identifier) is a unique alphanumeric string assigned to your published article. It acts as a permanent link to your work online.
Why DOIs matter: They make your article permanently citable, searchable, and trackable. Once your article is published with a DOI, it can be indexed by major databases like CrossRef, Scopus, and Google Scholar. This increases the visibility and credibility of your research significantly.
Example of a DOI format: 10.1234/ijar.2024.000001
12. Uploading Figures, Tables, and Supplementary Files
Many research articles include figures, charts, and tables. Here is how to handle them:
| File Type | Accepted Format | Best Practice |
| Figures and Images | TIFF, PNG, JPEG | Minimum 300 DPI resolution |
| Tables | Embedded in Word file | Do not submit tables as images |
| Charts and Graphs | EPS, PDF, PNG | Use high resolution |
| Raw Data / Appendices | .xlsx, .csv, .pdf | Label clearly as supplementary |
| Videos | .mp4, .avi | Upload to an online host and provide the link |
Always label each figure and table with a caption inside the manuscript. Do not place all figures at the end of the document unless the journal specifically instructs you to do so.
13. Article Upload vs. Article Submission: Key Differences
Many authors use these terms interchangeably, but they are slightly different.
| Term | What It Means |
| Upload Article | The technical act of transferring your file to the journal’s system |
| Submit Article | The complete process: filling in details, uploading files, and confirming submission |
| Publish Article | When your article becomes publicly available after review and acceptance |
You upload a file as part of the broader submission process. Submission is complete only when you click the final Submit button and receive a confirmation number.
FAQs
Can I schedule an article to be published later?
Yes. Most content management systems, including WordPress, allow you to schedule articles for a future date and time. This feature is useful for maintaining a consistent publishing schedule and managing content in advance.
How do I upload an article to WordPress?
Log in to your dashboard, select Posts > Add New, paste your content, add images and categories, then click Publish.
Should I add images to my article?
Yes. Images improve user engagement and make your content easier to understand.
Why are categories important?
Categories organize your content and help visitors find related articles.
Can I edit an article after publishing?
Yes. Most content management systems allow you to update and republish articles whenever needed.
Final Thoughts
Uploading article is the first step in sharing your knowledge, research, and expertise with the world. When you prepare properly, choose the right platform, follow the submission guidelines, and avoid common mistakes, you give your work the best possible chance of being accepted and published.
Whether you are submitting to a peer-reviewed academic journal, an open-access platform, or a professional network like LinkedIn, the core principles remain the same: prepare your file correctly, fill in every required field, upload supporting documents, and track your submission.
You May Also Like It:
SEO Agency in Australia Upload Article